Lasercutting
 © RBO
© RBO
 © RBO
© RBO
We use Lasercutting for two processes: In manufacturing the connector plates and the bellow actuators.
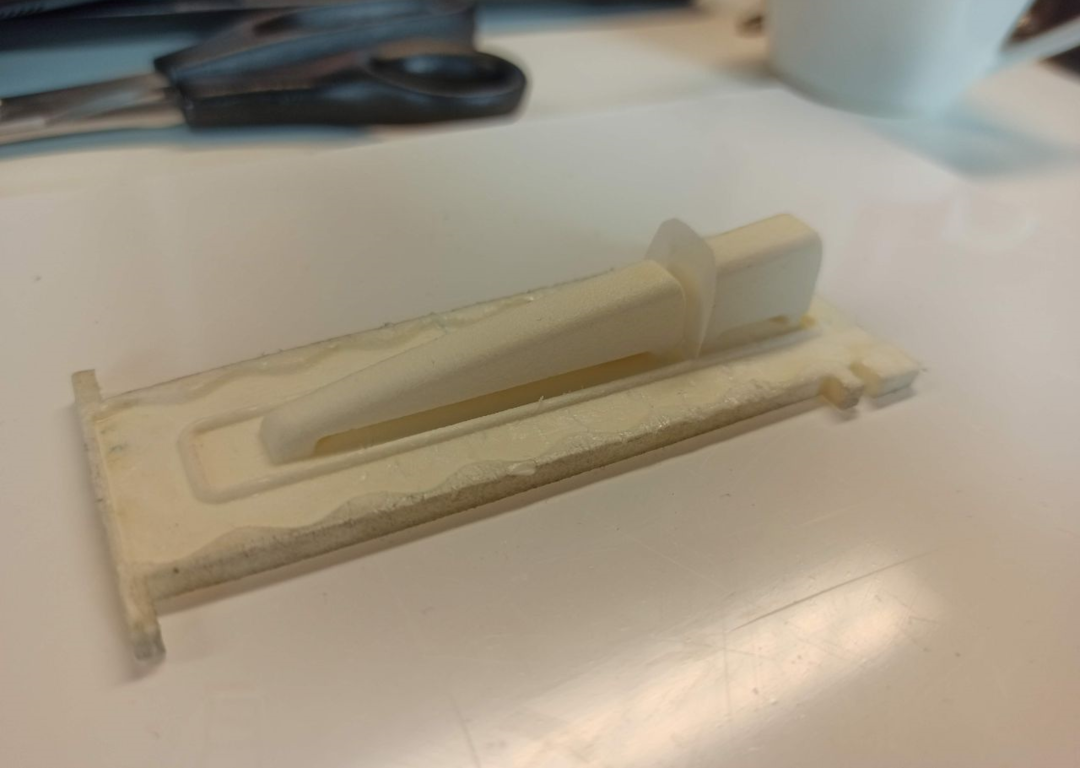
Lasercutting Connector Plates
To get the connector plates, our goal is to cut small arch-shaped disks of acrylic in two variations: One with a circular hole for a screw, an indentation for the hexagonal screw head, two circular holes for the 4mm silicone tubes, and an engraved surface roughened to a thickness of 0.1-0.7 mm to aid adhesion in the next steps. The other in the same set-up with 3 indentations and holes, instead of one, this time designated for the nuts of screws.
To achieve these three types of surfaces (cutting the shape and holes, engraving the indentation, and engraving the surface), we have made files that have lines for the cuts, and two different shades of gray for engraving. Depending on the laser used, the settings necessary will vary. While lasercutting connector plates is cheap, it's also possible to 3D print these, though we don't have an STL file for that, you'll need to generate your own from the .ai/svg files you can find in the Connector Plate folder. Relevant dimensions for the Connector Plate:
- connector plate is 4mm thick,
- the indentation for screwheads or nuts need to be at least 2mm deep
- the roughened surface can be very shallow (0.1-0.7mm), the goal is to give the super glue grip. This step takes experience to get right, so don't be disappointed if your first results don't turn out quite right.)
Lasercutting Bellow Actuators
The bellow actuators are a compact assembly composed of layers. Bellow actuators come in 5 variants: The Abduction Bellows (abd for short) The Palm Bisection Bellow (palm for short) and the 3 Thumb Bellows: Thumb Bellow 1 (T1 for short) Thumb Bellow 2 (T2 for short) Thumb Bellow 3 (T3 for short)
Each bellow is made of layers:
- TPU coated Nylon Outer layer
- TPU sheet Outer layer
- a smaller inset baking paper
- TPU sheet Outer layer
- TPU coated Nylon Outer layer
The T1, T2, T3 and Abduction Bellows also have a thin silicone tube on the baking paper to avoid the airflow being restricted once the bellow is folded into its final form. In the folder Bellow Actuators, there are two variations for each Bellow: the Inner and Outer shapes. The Inner files are used to cut the baking paper. The TPU coated Nylon and the TPU sheets are cut using the Outer files. The files have small bridges that connect the cut shapes to the blank canvas so that the laser does not suck them into the fume extractor.
[In order to make cutting faster, you can fold the baking paper a number of times and cut multiple layers at the same time. Add a press-jig or weight around the edges to stop it from unfolding in the cutter.]
 © RBO
© RBO
 © RBO
© RBO
Molding
Molding as documented in the Youtube Video
Molding the fingers requires the molds to be printed, and ideally to have been treated with Sealing Agent twice(We use Super Seal by SmoothOn). The super seal comes in a big canister or bottle, so we pour it into a temporary container large enough to comfortably contain the molds. Into this we then pour enough Sealing Agent to submerge the Molds, which we do twice: dip in the molds, let drip dry for an hour, then dip them in again. Then pour the Sealing Agent back into it's bottle for next time.
The Top and Bottom slot into each other with a ridge lip down both sides. Take the passive layer fabric, and cut into an arch approx 17mm high and 15mm wide.There is also a file in the Connector Plates folder, so you can lasercut the shape using that file if you prefer. The passive layer arches slot between the two ridges in the bottom of the Mold.
Then carefully combine the mold pieces making sure to not bend or dislodge the passive layer piece, and use office clips to clamp them together. Use more than one clip per side, a snug seal is necessary to avoid silicone leaking out. If you have a Mold Holder, slot the molds onto that now, otherwise, use tape to raise a ridge around the top of the mold.
Be quick when working with silicone: the molding should be complete within 40 minutes max. Despite using slow drying silicone, if you wait too long or process it too slow, the silicone will turn too thick and you wont get usable results. We cast the fingers using Dragon Skin 10 Slow by SmoothOn, which is a slow air-curing Silicone with Shore strength A10.
We have rough estimates for how much silicone each mold needs, as follows:
- RH3 Fingers 30g
- RH3 Thumbs 20g
When casting multiple fingers and thumbs, we round up, as there are small losses during the mixing and pouring process: Some silicone inevitably remains in the mixing pot, and some silicone is often spilled while pouring.
To give our fingers their distinctive blue colour, we add silicone dye Silc Pig Blue, of which only a very very small amount is necessary. Using a small wooden stick, add as small an amount as possible, then stir, then add more. Stop when the colour stops getting darker through more dye. We want a deep dark blue colour, and you should never need more than a maximum of 1g of dye to reach that. The dye also helps us see when the two silicone components (A&B) have been thoroughly combined.
The Silicone is then put into a vacuum chamber to remove all the air bubbles generated while mixing. If you watch the silicone, bubbles will rise to the surface, and the whole mix will expand significantly. Once all but very few bubbles have disappeared, leaving a flat surface, you can remove the silicone from the vacuum chamber and slowly pour up to half of the silicone into the finger molds. Give the silicone a moment to settle into the mold, and then place the molds into the vacuum chamber. Here again the silicone will bubble, and eventually calm. When you release the vacuum, the silicone will retreat into the finger mold, leaving a cavity for you to add more silicone into. Repeat the process with the vacuum chamber until the silicone no longer retreats into the chamber. Interrupt and Finish this process by knocking the molds a couple of times hard against your work surface to shake out any bubbles that may be lingering inside.
To summarize:
- Fill the molds 3/4 full
- Place in vacuum chamber
- Fill molds
- Place in vacuum chamber
- pour in the rest of the silicone
- knock against the table to loosen bubbles, then wait a minute or two and repeat.
add connector plates
The shape of the Finger Molds accommodate the connector plates with a small ridge: the connector plates are inserted into the top of the finger molds, firmly into the silicone, the screws pointing up. Experience shows that it's worth laying the plates down onto the silicone for a moment before pushing them into place. This is to give the connector plate fabric time to soak up the silicone. Once the connector plates are firmly lodged at the top of the molds, place in an undisturbed location to set for at least 8 hours, or the curing time of your silicone. After the silicone has set, open the molds, if necessary using a screwdriver to lever the pieces apart. Check the silicone for bubbles larger than 1mm. If there are still significant air bubbles in the silicone, the finger is likely to break very soon when pressurized. We recommend disposing of fingers with large air bubbles over committing to the effort of finishing a faulty finger. Bubbles that create a hole throught the entire membrane are fatal to fingers. Pockets that are merely on the outside surface can be filled up with Sil-Poxy and used.
Once you have molded the finger base, there are four more steps before the fingers are finished:
- Tubing
- Adding the passive layer
- Threading and Sealing
- Pulps
The Pulps are molded in the same way as the Fingers. The differences are the mold type (Pulp Molds for Pulps, predictably) and Silicone type: We use Eco Flex 30 for Pulps, which is a softer, more elastic silicone. This gives the Fingers a better grip-surface to hold objects with.
Adding Passive Layer
 © RBO
© RBO
 © RBO
© RBO
Passive Layer as documented in the Youtube Video
Adding the passive layer means sealing the fingers by closing the open side with a silicone-infused sheet of fabric mesh. This mesh restricts the elasticity of the finger on this side, causing a controlled curve in the extension of the finger.
The passive layer is prepared on a plastic tray using Dragon Skin 10 Silicone, half of which is poured and then spread out on the tray using a rectangle of plastic, like a card, or a piece of acrylic. A rectangle of passive layer material is laid down over the silicone, and then covered with the other half of the silicone, which is spread smoothly across the fabric.
The Fingers are then carefully placed onto this sheet, opening facing down, about 2mm apart, and held down by weights. There should be segment of at least 1 centimeter of passive layer at the connector plate base, known as the 'flap'. The weights placed on top to secure the fingers into the silicone should not be heavy enough to deform the finger.
After the silicone is set, it is peeled off of the tray, and turned over. It's important to check for bubbles that turned up between the finger walls and the passive layer, as these mean failure: the fingers' airtight seal is fragile and could break. Another thing to check for is patches where the mesh comes out of the silicone. This usually happens when the lowest layer of silicone was not consistent. This can be fixed using a thin layer of sil-poxy.
The Fingers are then cut from this sheet using scissors, following the shape of the finger and fingertip and as straight and as accurately as possible. Uneven cutting at this step can have significant impact on the morphology of flexion later.
Threading & Sealing
Threading & Sealing as documented in the Youtube Video
The last steps in finishing RH3 Fingers are to thread and seal them. Test the fingers first though by pumping air into them (either manually with a big syringe or pump or using a pneumatic system), to check that the chambers expand and contract independantly of each other and there are no leaks (leaks are easy to recognise by air bubbles if you submerge the finger under water). Threading means wrapping thread around the finger in a consistent pattern, following the insets. Starting at the base with a thread-end secured with Sil-Poxy, the thread is wound up the finger, filling one valley, then skipping one, alternatingly until the end of the finger. On the way back down the finger, the empty valleys are filled, with the crossover points of the thread being set on the left and right side of the finger. Dont thread too tightly, as the finger will start to curve, it's better to wind the thread lightly, just tight enough to avoid it slipping around on the finger. Sealing the finger in the next step will help to keep the thread where it needs to be. Once back at the base, the thread is sealed in place using a very thin layer of DragonSkin 10, or in a pinch, Sil-Poxy will do.